Product Background Remover
Explore a related image workflow for product-background presentation.


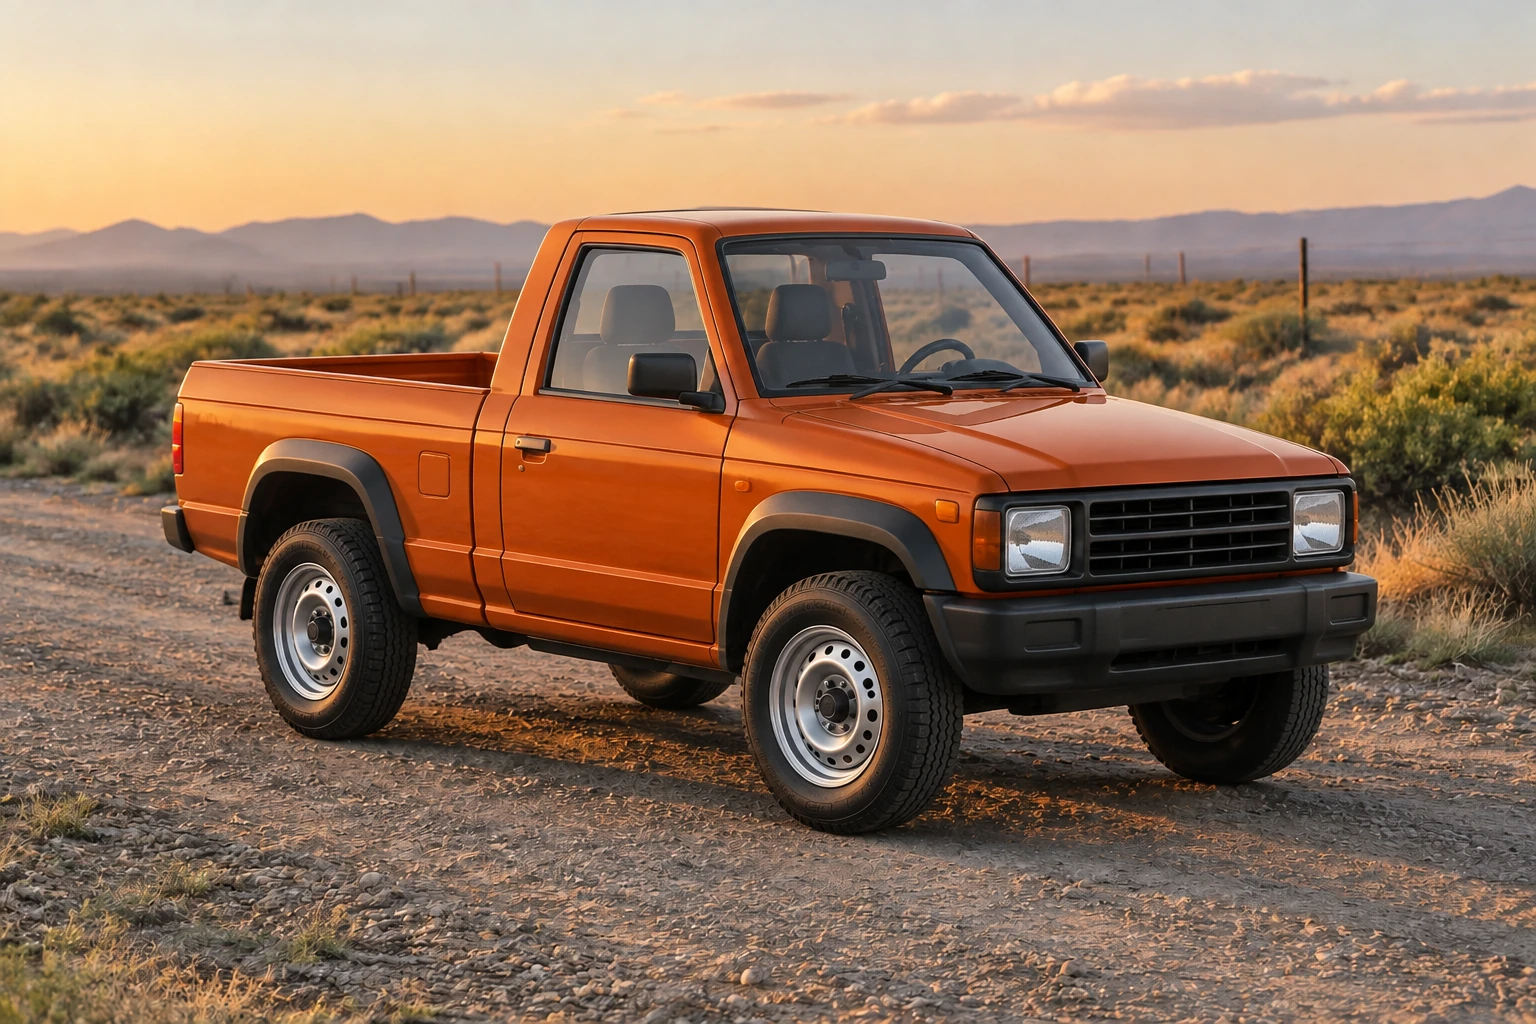
Toy Car To Real Car is a practical way to turn a miniature vehicle photo into a still image imagining that vehicle at full size. On bulkbgremover.com, the approach is to replace tabletop cues with a believable setting, then check the vehicle silhouette, contact shadows and background scale. This guide uses an original burnt-orange compact utility pickup as an illustration; for an uploaded photo, the edit prompt should preserve the actual toy’s recognizable features instead.
For Image to Image, provide one photo of the actual toy vehicle. Choose a clear three-quarter angle that shows the whole toy, including its wheels, roofline, windows and body markings. Use even, uncluttered lighting where possible. Keep the original paint, body style, window arrangement and distinctive stripes visible; these cues give the edit a basis for preserving the toy’s identity. A photo that crops off a bumper or hides a side window makes those details harder to assess.
Use Image to Image when you want to adapt your own toy photo: the native workflow takes one uploaded toy-vehicle photo and an editable prompt. Use Text to Image when you want a new scene from text alone; it has an editable prompt and does not upload a reference photo. The burnt-orange pickup in this guide is an imaginary example for the no-upload prompt, not a required design or a conversion preset.
Describe the full-size interpretation, the outdoor setting, realistic materials and grounded contact shadows. In Image to Image, keep the uploaded toy’s own recognizable paint, body type, roofline and markings rather than replacing them with the example pickup. Select from the currently supported Seedream 5.5 size and aspect options. Check the live credit quote beside Generate before submitting; it reflects the current selection, not a fixed price. The available quote and your account balance are separate things to check.
Generate the image and check its status in History; wait time can vary. Review the full-size vehicle concept against the toy photo. Inspect all wheels, window shape, reflections, paint and perspective, along with the contact shadows and whether the background supports full-size scale. If something is off, edit one prompt variable at a time—such as the setting or wheel description—and generate again to see what changed.
A convincing Toy Car To Real Car image needs more than a larger-looking vehicle. Replace miniature-scale tabletop cues with surroundings that make sense beside a full-size vehicle. In the guide’s example, a broad gravel trail, low desert scrub and distant fence posts provide context without competing with the pickup. Keep the view grounded: tires should meet the surface, contact shadows should sit beneath the wheels, and the camera perspective should feel consistent across vehicle and background. Warm late-afternoon light is part of this particular scene, not a required look for every toy.
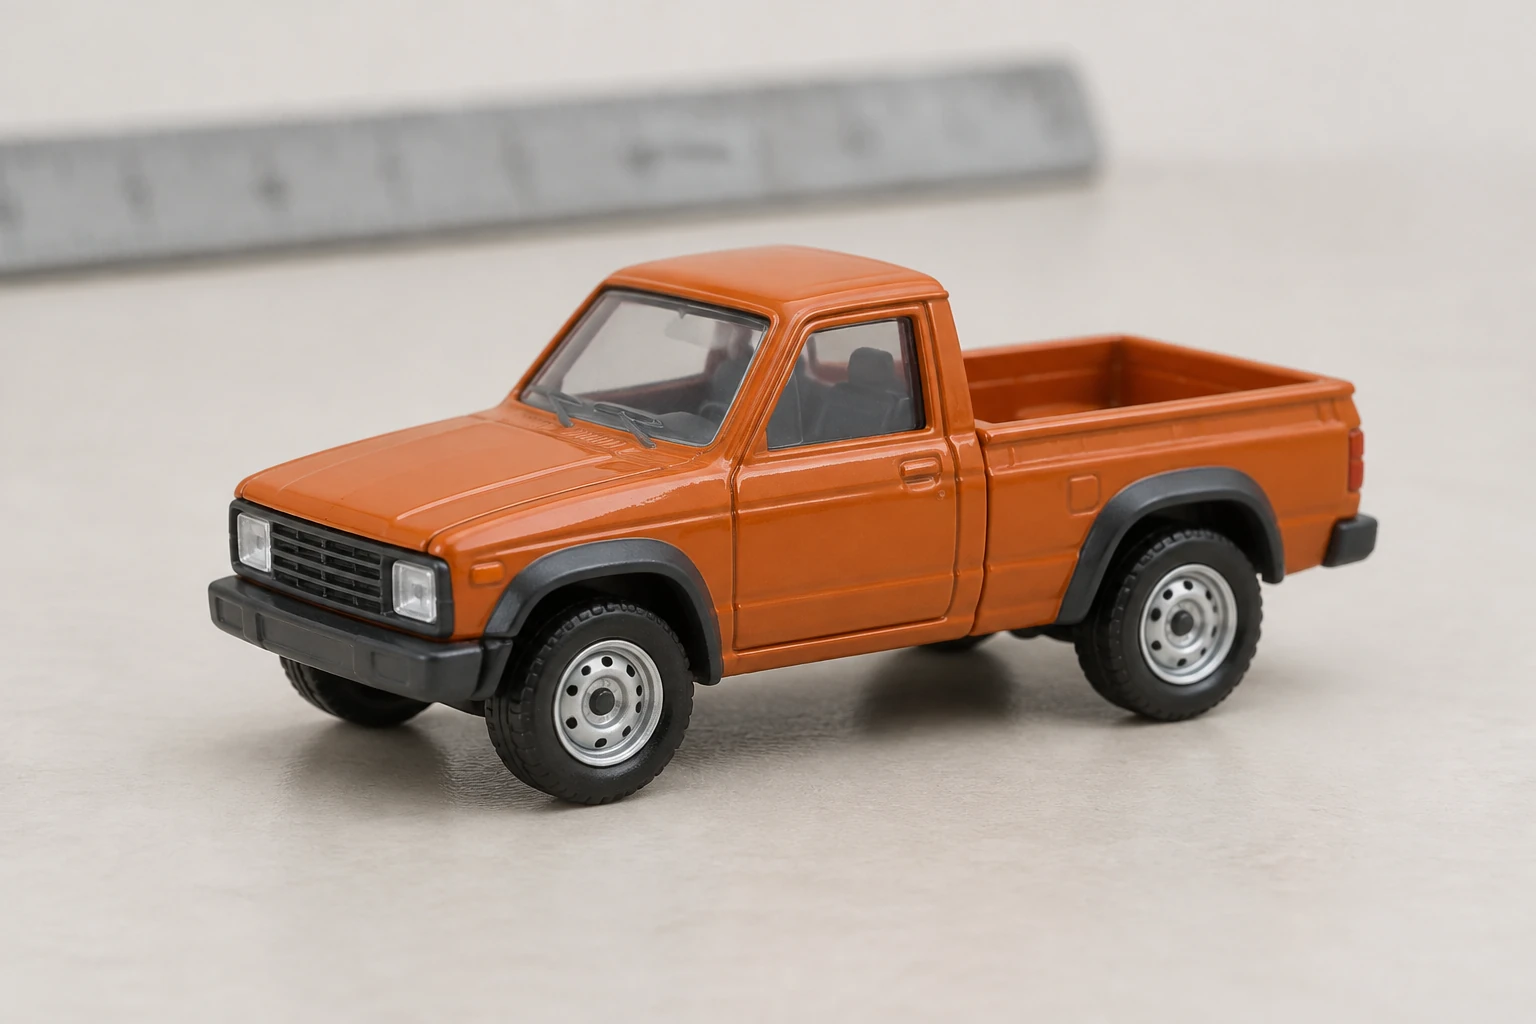
Diecast and plastic toys simplify surfaces, joints and proportions. Ask for plausible painted metal, transparent-looking glass and rubber rather than a literal enlargement of the toy’s plastic texture. At the same time, retain identifying design cues from the source: its paint, body type, roofline, window arrangement and distinctive stripes. For the sample concept, the short square cabin, one side window per door, shallow open bed, dark wheel arches and plain steel wheels define the original unbranded pickup. For a real uploaded toy, use its own details instead; do not ask the edit to substitute this sample design.
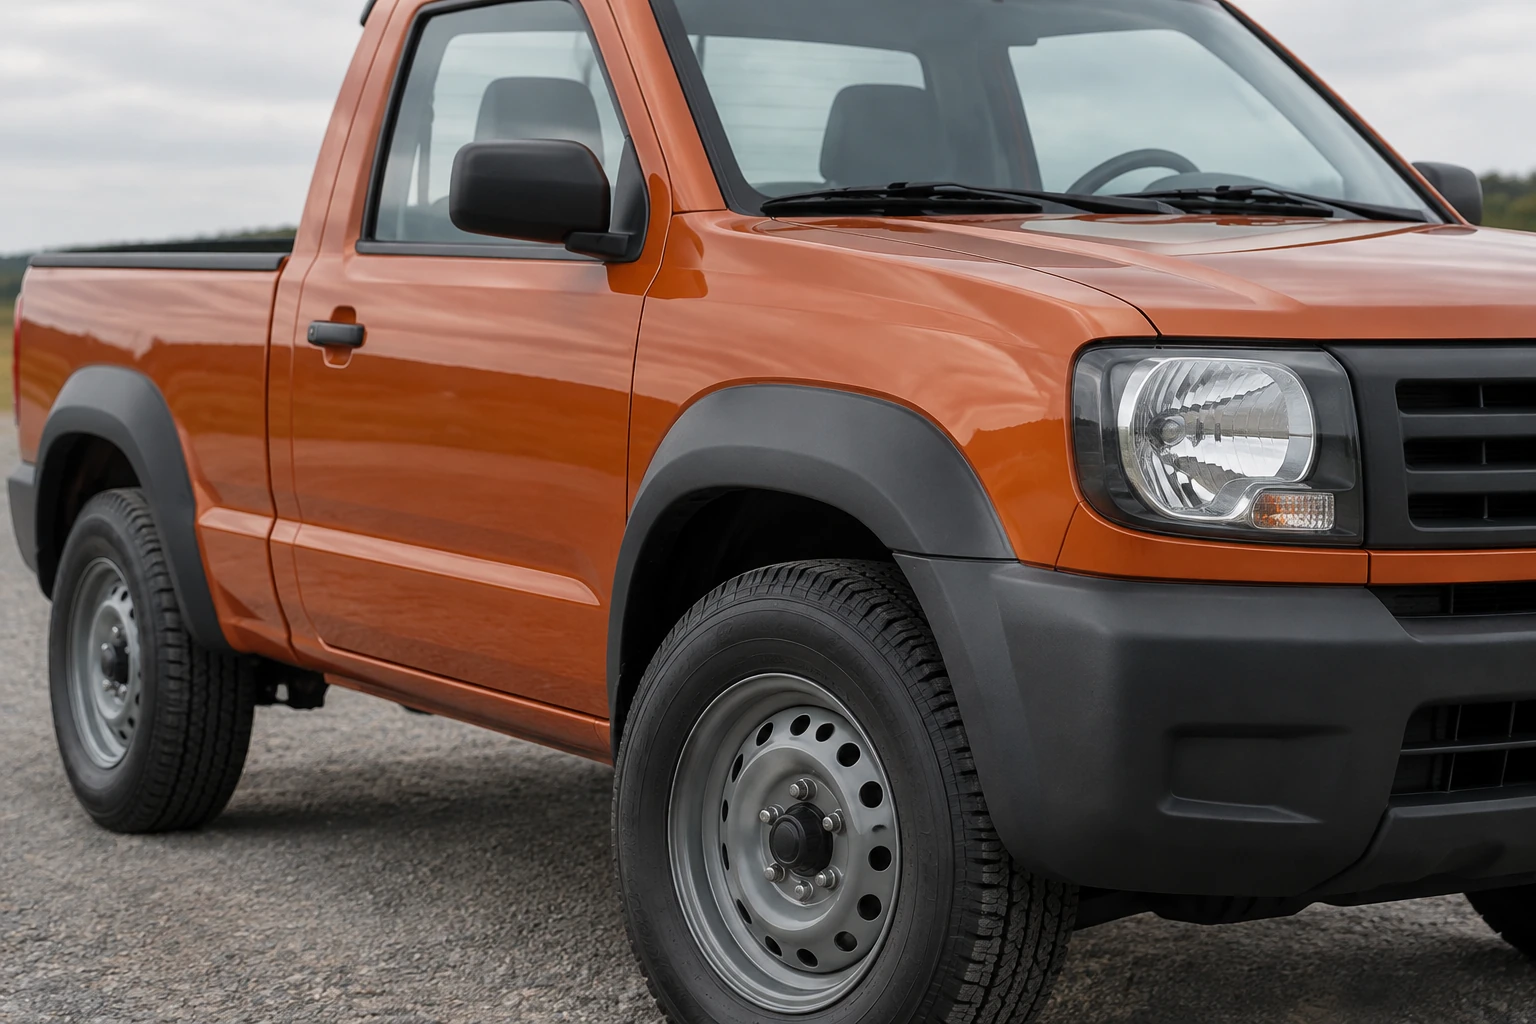
The existing generator provides two distinct ways to start: Text to Image with an editable prompt and no uploaded image, or Image to Image with one uploaded toy-vehicle photo and an editable prompt. This guide supplies themed direction for those workflows; it does not add a separate conversion preset or a dedicated part selector. After generation, look closely at every wheel, window shape, reflection, paint surface and perspective. Also check whether the shadows connect the tires to the ground and whether nearby objects support a believable scale. If a revision is needed, change one variable at a time so the next result is easier to judge.
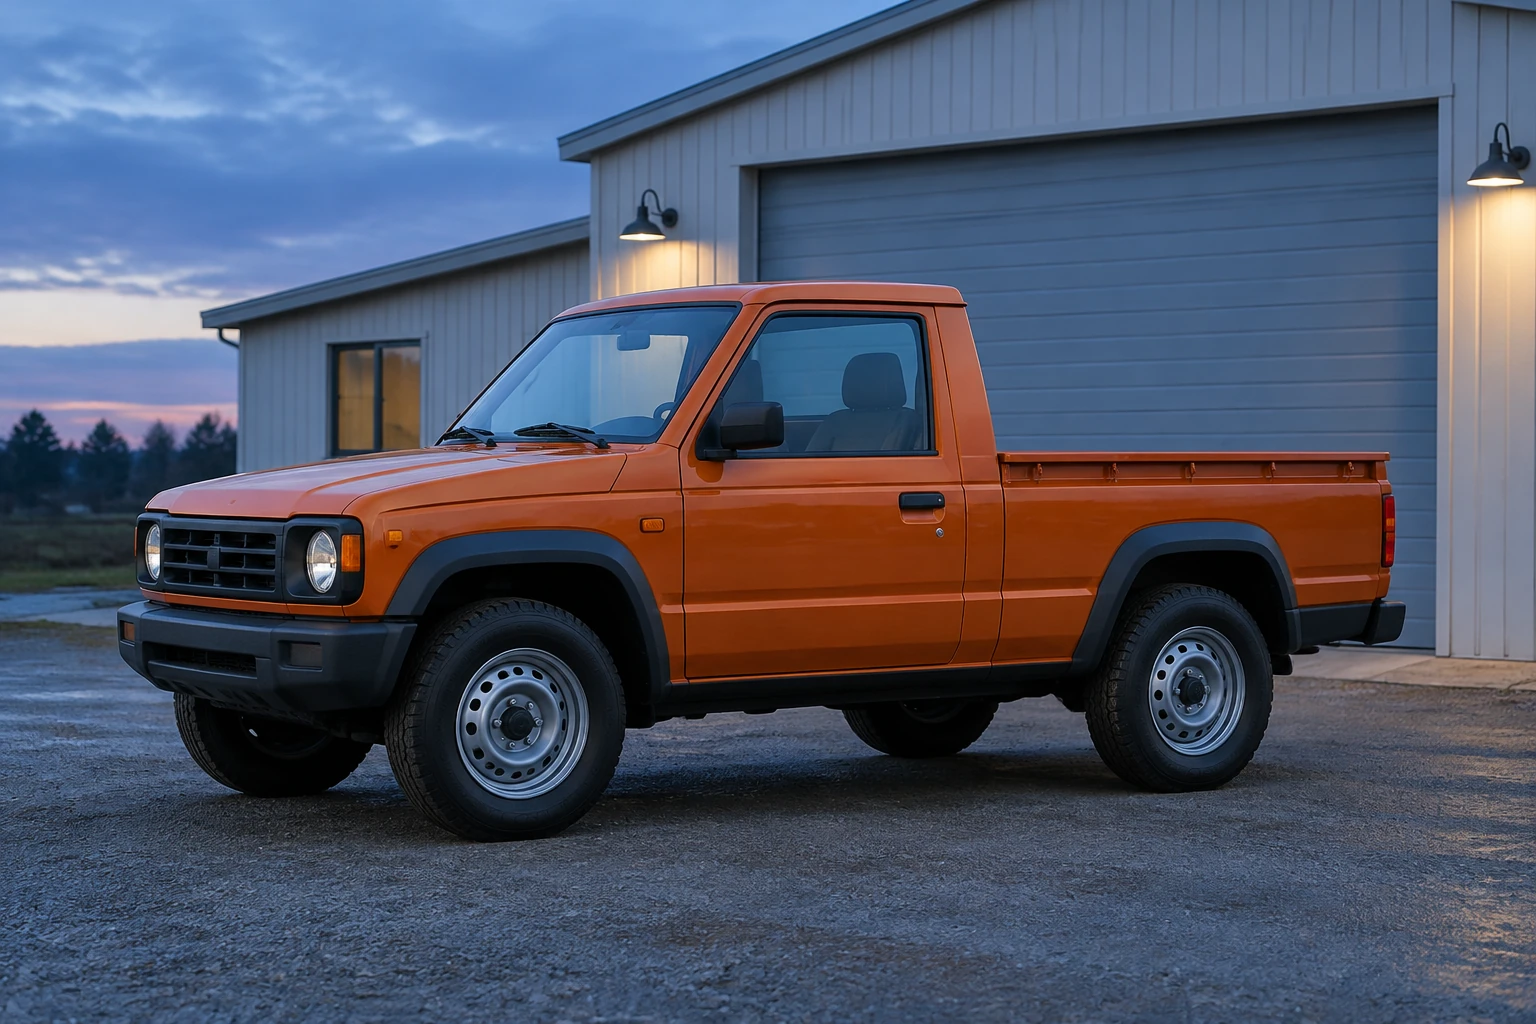
A useful comparison pairs the neutral miniature input with the full-size outdoor concept and, if helpful, a close detail or alternate setting. Keep captions clear about which image shows the toy and which shows an imagined vehicle scene. Place the two still images in a simple comparison layout using your usual editor. Review both images at a size where the original paint, body shape and distinguishing markings remain visible.
Yes. Text to Image uses an editable prompt and no uploaded image, so you can try the guide’s imaginary burnt-orange pickup scene from text alone. To adapt a particular toy, choose Image to Image and upload one toy-vehicle photo.
Do not assume that every account has the same free eligibility or allowance. Check the current options shown for your account on bulkbgremover.com before generating; this guide does not promise a free generation.
The live quote beside Generate shows the credit cost for the current selection. Your account balance is a separate account figure. Check both before submitting; the quote can change with the selected settings, and this guide does not state a fixed price.
Check the job status in History. Waiting time can vary, so allow the status to update rather than expecting a fixed completion time.
The edit prompt is written to preserve cues such as the uploaded toy’s own paint, body type, roofline and markings while reinterpreting its toy materials and proportions. Review the resulting wheels, windows, reflections, paint and perspective; preservation is a prompt goal, not a guarantee of an exact copy.
Pair the neutral toy photo with the reviewed outdoor vehicle concept. Use short captions to identify the miniature and the imagined full-size scene, and keep the pickup silhouette and paint visible at the final display size.
Explore a related image workflow for product-background presentation.
See another still-image effect for creating a distinct visual treatment.
Explore a related tool for making a promotional poster image.
Find an image workflow for resizing multiple images.
bulkbgremover.com · Updated